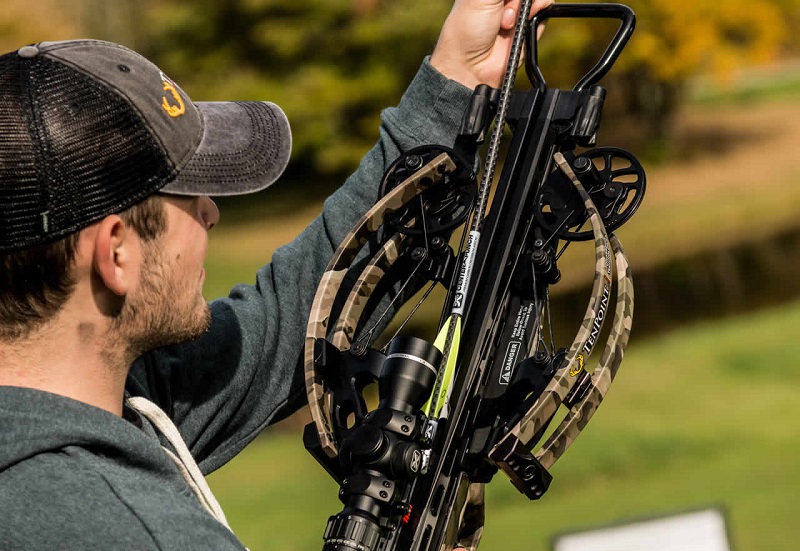

Restringing is important when the bowstring of your device begins to wear out. A weak string can snap out inflicting serious injury to the user. It’s best practice to remove the string when the crossbow is not in use to extend its usage period.
The best way to extend the usage period of a crossbow is through regular maintenance such as waxing. If the string in your crossbow is beginning to show symptoms of wear out, there are a couple of ways you can learn how to string a crossbow without injuring yourself. You simply have to follow the right procedure, and we’ve outlined them below.
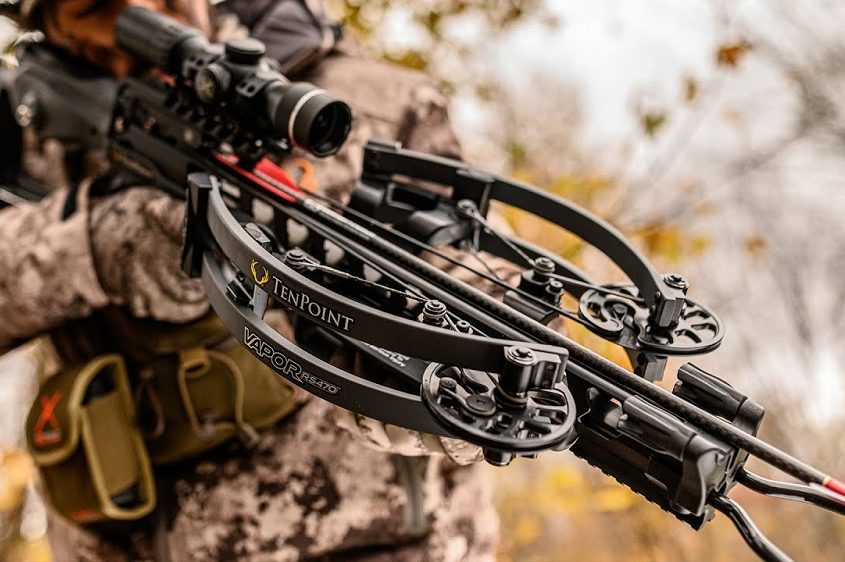
 The way you string a compound crossbow is different from how to string a recurve crossbow. There are slight differences in their structure and interchanging their stringing process might cause a lot of harm.
For the record, there are two primary methods of restringing a crossbow. One allows you to use a stringer while the other can be executed without it. It’s not all about speed or efficiency. You should try to understand how each method works before narrowing your choice down to the best one.
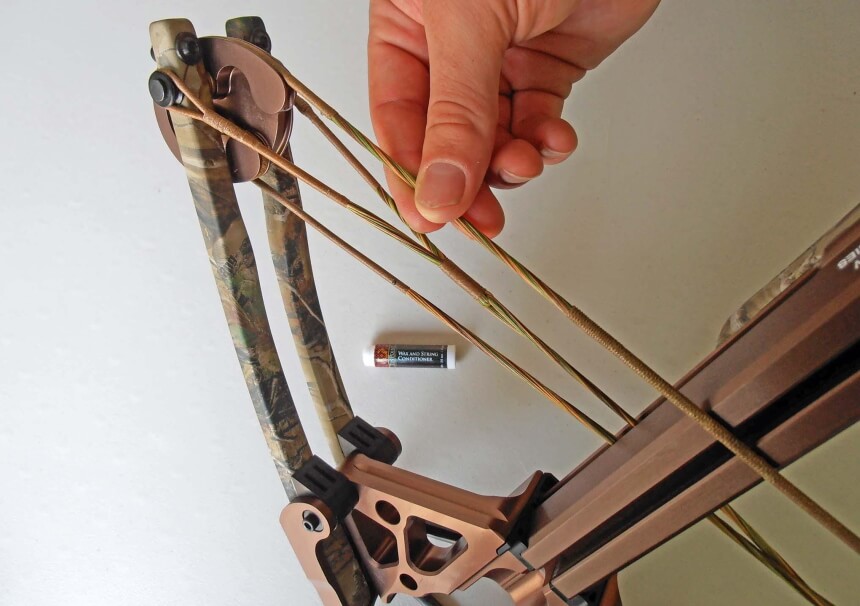
Before we go into details about how to string a crossbow without a stringer, you ought to know that where there’s no stringer, you need to use your bare hands. This is an indication that this method relies heavily on your strength and as such, the weight of the crossbow has to be manageable.
When it comes to human effort, how well you execute this step depends on your strength and weight. Hunters with steady hands are likely to stroll through the process like it’s second nature. This is because you have applied a lot of force. Hence, the bigger the weight your arm can handle, the easier it’s to string.
Finally, as a precautionary measure, you should know this method doesn’t work on a crossbow that comes with a pulley at the end. With that being said, let’s proceed to the steps involved in stringing a crossbow without a stringer. Follow them accordingly to achieve the best results without inflicting any damages at the end.
You should also know you won’t achieve the same stability when you place the crossbow on the floor as when you place it on a solid surface such as a piece of block. To ensure the block doesn’t slip away as you try to rest it, drill a hole in the middle of the block.
Secondly, the foot you place on the barrel of the crossbow should be your dominant foot and one you can easily maneuver. The key to ensuring the bow tilt in the direction you want is to keep your foot at the center of the prod. This is thought to be the center of gravity. Ensure your crossbow doesn’t come with a stirrup when you do this. If the stirrup is directly below the prod, applying too much force might cause it to damage.
 This is one of the easiest means of learning how to string a crossbow by yourself. Fortunately, this method works for every type of crossbow regardless of if it’s compound or recurve. It’s particularly suitable for crossbows with a pulley since you don’t have to apply excessive force.
The stringer minimizes human effort. You won’t have to use your hands, and a lot doesn’t depend on how muscular you are. Also, using a stringer to do this is safer and at the same time faster. It minimizes injury from rookie error. This method would take a while to master, but once you get a hang of it, it will become a stroll in the park.
This is all the information needed to get a hang on how to restring a crossbow. Just as you did when restringing without a stringer, you ought to also detach the string from the bow when not in use.
Just like we did at the beginning, install the stringer once again and pull off the bowstring from each end till they’re taken off completely. Then remove the stringer using the step we mentioned earlier and store the bow in a cool dry place.
When it comes to the stringer, you should know that it won’t serve you for a long time. You have to bend them to fit into the latch; hence they might begin to weaken after a couple of restringing. Once you see them wearing out, replace immediately. A damaged stringer might snap and injure the user in the middle of a restring.
For best results, ensure you keep your crossbow in good order by carrying out periodic maintenance. You can apply beeswax at the bowstring to minimize friction.
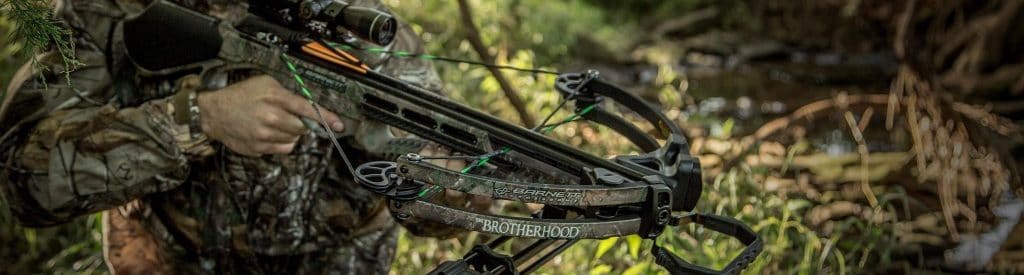
 Well, we understand that most people are itching to know if there’s a difference between the stringing method for a recurve and a compound crossbow. The only difference we are aware of is that you can string a recurve crossbow with any of the methods we mentioned earlier. We mean both with a stringer and without one.
In the case of a compound crossbow, especially modern designs, you have to restring with a stringer. It isn’t easy to string a compound bow without a stringer for two reasons. First, compound bows are heavy and bulky at their best. Hence, your arm strength might come short while trying to work your way around it. Secondly, stringing with no stringer is risky. The crossbow could slip away from your hands, thereby causing some damages.
For this reason, we recommend you start by learning how to string a crossbow without a press if what you have at the moment is a compound crossbow.
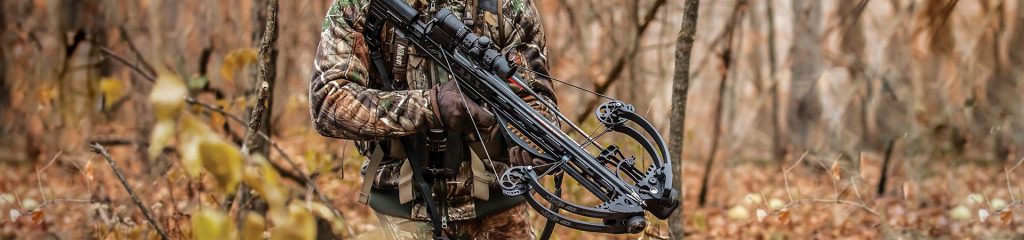
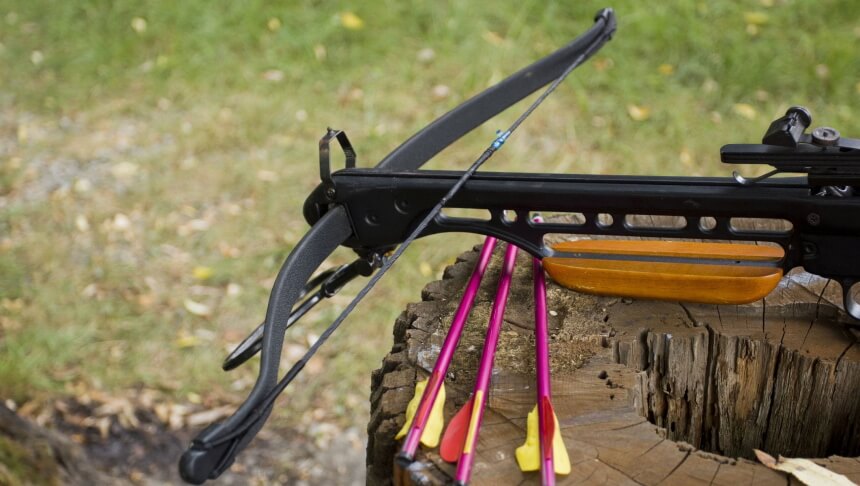
If you go on hunting trips, you’re bound to learn how to string a crossbow at some point. A crossbow is a vital tool during such adventures. If you use a recurve, you should be able to do this without a stringer. If you follow the steps we outlined above carefully, you won’t face a lot of troubles.
Well, even at that, we encourage you to learn how to use a stringer due to their versatility. Also, they’re less risky and easy to handle at the same time. You don’t need to apply a lot of manual efforts, and the price of stringers isn’t frightening.